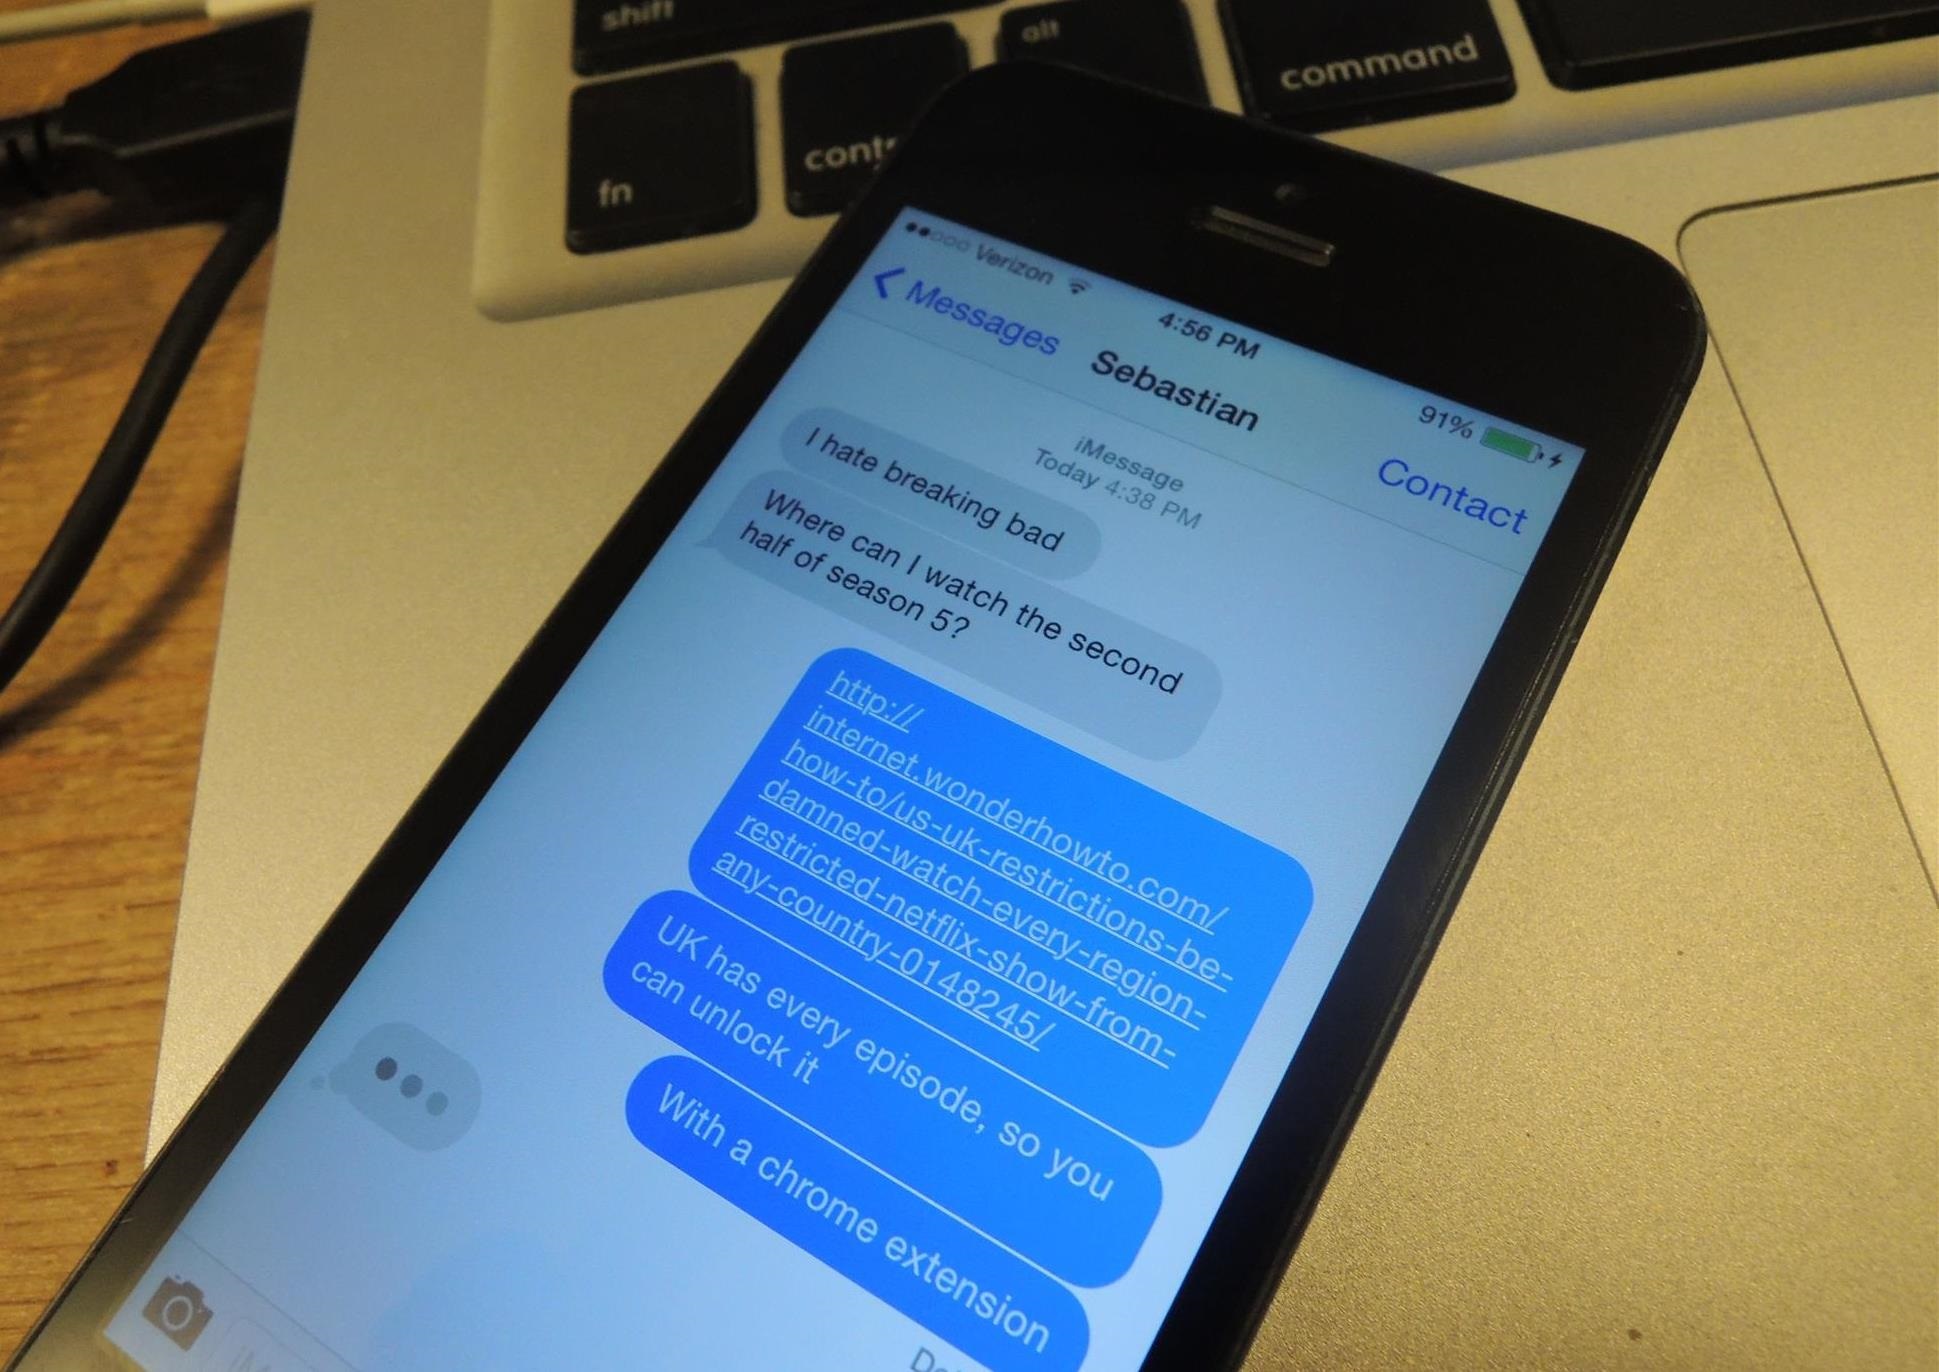
NSA aside, Apple makes it difficult for users to extract and download text messages from their iPhones onto a computer. For whatever reason (legal, devious, neurotic, etc), we've all found a time where we'd like to save backups of certain meaningful, important, or perhaps incriminating conversations (including all MMS or iMessage pictures and videos).
While there are a handful of third-party applications that can help with this process, the majority of them cost money and implement certain techniques that could be shady (ex: requiring you to upload a full iOS backup to a website).
Now, thanks to chelseybaker, you can easily extract all of the text messages on your iPhone and keep them on your desktop using his open-source Perl script.
If the thought of working with an open source script sounds scary to you, don't worry. I'm no coder and it's pretty easy. Even if you've never seen a line of code in your life, I'll hold your hand through all the steps.
UPDATE: Step 5 has been updated, since many of you were having trouble with the PERL script not running successfully. Thanks to Newell Jones for the tip!
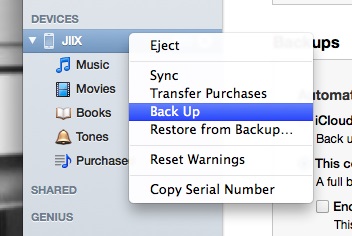
Step 1: Back Up Your iPhone
Using iTunes, back up the iPhone with the conversation(s) you want to download. Just Right-Click on your iPhone in iTunes and click Back Up.
Step 2: Find Backup Folder
Once the backup is done, you'll need to find the folder where the backup was stored. To do this,—
- Open Finder
- Press and hold the Option key
- Click Go on the Menu Bar
- Choose Library
- Select Application Support < MobileSync < Backup
- Right-Click and arrange all of the folders by Date Modified. The most recent one will be your latest iPhone backup.

Step 3: Create an iOSBackup Folder on Your Desktop
Create a folder on your desktop and name it iOSBackup. This is where we're going to save everything to make running the script easy.
Step 4: Make a Copy of Your Backup
Copy the backup folder you found from step 2 into your new iOSBackup folder on your Desktop. This lets us work on it without conflicting with iTunes.
Step 5: Download iOSMessageExport Files
UPDATE: This step has been updated.
Download the iOSMessageExport script from Github (or use this direct link to the iOSMessageExport zip file) and open the zip file. The downloaded script includes the following 6 files:
- backup.pl
- iOSContacts.pm
- iOSMessages.pm
- iOSSMSBackup.pm
- README.md
- style.css
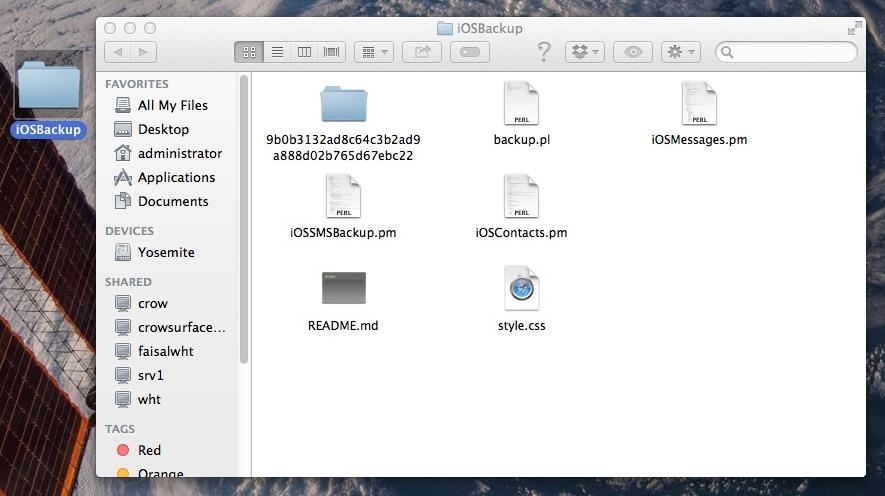
Copy all six files into your iOSBackup folder you created on the desktop during Step 3.
Step 6: Use Terminal to Execute the Script
Now you'll need to open up Terminal (which you can find by hitting Command+Spacebar and typing "Terminal").
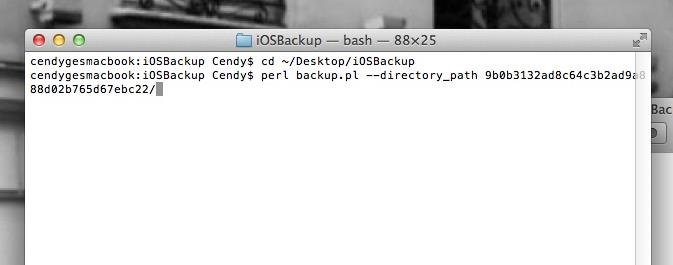
Type the following Command to change to your iOSBackup folder:
- cd ~/Desktop/iOSBackup
Now you'll need to enter one more command to execute the script. Using the command below, replace the "<folder>" part below with the name of your backup folder (the long string of letters and numbers):
perl backup.pl --directory_path <folder>/
Note: Be sure to include the forward slash at the end of it and press enter, as seen below:
After pressing enter, head back to your iOSBackup folder.
Step 7: Open Text Messages
In the iOSBackup folder you created, you will now see an _export folder.

Open it and you'll find folders for all the conversations you've had, each one consisting of HTML files that make up the text messages and images. You'll find multiple HTML files in each folder, as the text messages are grouped by days. Next to certain HTML files you'll see corresponding folders containing any pictures you were sent with that text message.

If you click the HTML file your web browser will open up, showing your text message conversation with pictures included. Note that Emoji will only show up if you open the html files in Safari.

And there you have it. All your raw text message data. Backed up and organized. You can now use spotlight to search them, or make copies of any of the images or videos. If you'd like, you can print-to-PDF to convert them to an easier-to-share format.
If you are still trying to do this, you will need 'perl', which does not come with MS Windows. Download a copy by going to http://strawberryperl.com/ and installing it. Pick either 64 or 32 bit (you likely have a 64 bit)...if in doubt, just pick the 32 bit version. The rest of the instructions are similar. To get to a terminal in step 6, hit <windows>-r and type cmd and press <enter>
If you are still trying to do this, you will need 'perl', which does not come with MS Windows. Download a copy by going to http://strawberryperl.com/ and installing it. Pick either 64 or 32 bit (you likely have a 64 bit)...if in doubt, just pick the 32 bit version. The rest of the instructions are similar. To get to a terminal in step 6, hit <windows>-r and type cmd and press <enter>